Part 1: JavaScript Version
We start out creating a basic HTTP endpoint written as an Azure Function in JavaScript. If you already know about Azure Functions, then skip ahead to part 2 where the code is transformed into TypeScript.
Install Prerequisites
Azure Functions require a long term support (LTS) version of Node.js. The latest version, version 12, is an LTS version, but it’s still quite new, so for now to be safe I recommend sticking version 10, since that’s the one that Microsoft mentions in the previous link. When installing older versions with Homebrew we have to forcibly tell it to set that version to the default one. Remember to re-link if you upgrade Node.js. You can use nvm if you need to switch between different versions of Node.js.
$ brew install node@10
$ brew link node@10 --force --overwrite
Install Yarn. Yarn is a better npm. I am particularly fund of the really fast installs on a project where the dependencies are up to date, because this allows you include yarn install as part of the build, making sure that you are always using the correct versions.
$ brew install yarn
Install the command line tools for Azure Functions, Azure Functions Core Tools. This is the func shell command. The tools are installed as a local Node.js package instead of a global tool because we will be using the func command later on in our continuous integration pipeline. Installing it locally also has the benefit that if you’re a team of developers, it easy to keep everybody on the same version.
I always install exact versions of the Node.js packages that I use (--exact) because I like being able to see the versions of the installed packages in package.json. With the command line tool npm-check-updates installed you can upgrade all the packages with the command ncu -u && yarn upgrade. I recommend keeping upgrades in their own commits to make it easy to revert an upgrade, should it break something.
$ mkdir azure-functions-typescript
$ cd azure-functions-typescript
$ yarn add --exact --dev azure-functions-core-tools
Initialize the project and create an HTTP triggered function called greet.
$ yarn run func init --worker-runtime node
$ yarn run func new --name greet --language JavaScript
# Press 8 to create an HTTP triggered function.
This results in the following folder structure. A few notes
- Each function must reside in it’s own folder, one level below
host.json. - Each function must have a
function.jsonfile. local.settings.jsonare only used when hosting the functions locally. They are not copied to Azure when publishing.
├── greet
│   ├── function.json
│   ├── index.js
│   └── sample.dat
├── node_modules
│   └── ...
├── host.json
├── local.settings.json
├── package.json
└── yarn.lock
Hosting Locally
The local Azure Functions host is started with the command yarn func host start. The yarn prefix is necessary since the func command is installed locally. This is bit long to type, so we add a start script command to package.json. We can now start the local host with this command:
$ yarn start
Open a browser window, go to http://localhost:4000/api/greet, add a name as a query parameter, and you will see it echoed back.

Show Me The Code
The full code base after part 1 has a few more files added to it. They consist of the three things below. If you want more details, then take a look at the commit history.
- Standard files, like a readme, a license and a gitignore file.
- The endpoint is made available anonymously. This is just to make the setup a bit simpler.
- Files for improving the development experience in Visual Studio Code.
The Azure Functions extension for VSCode requires that the Azure Functions Core Tools are available as a global command. I recommend installing the tools with Homebrew, since that makes it easy to maintain the package together with Node.js and Yarn (brew install azure-functions-core-tools). It’s fine having the tools installed both locally and globally.
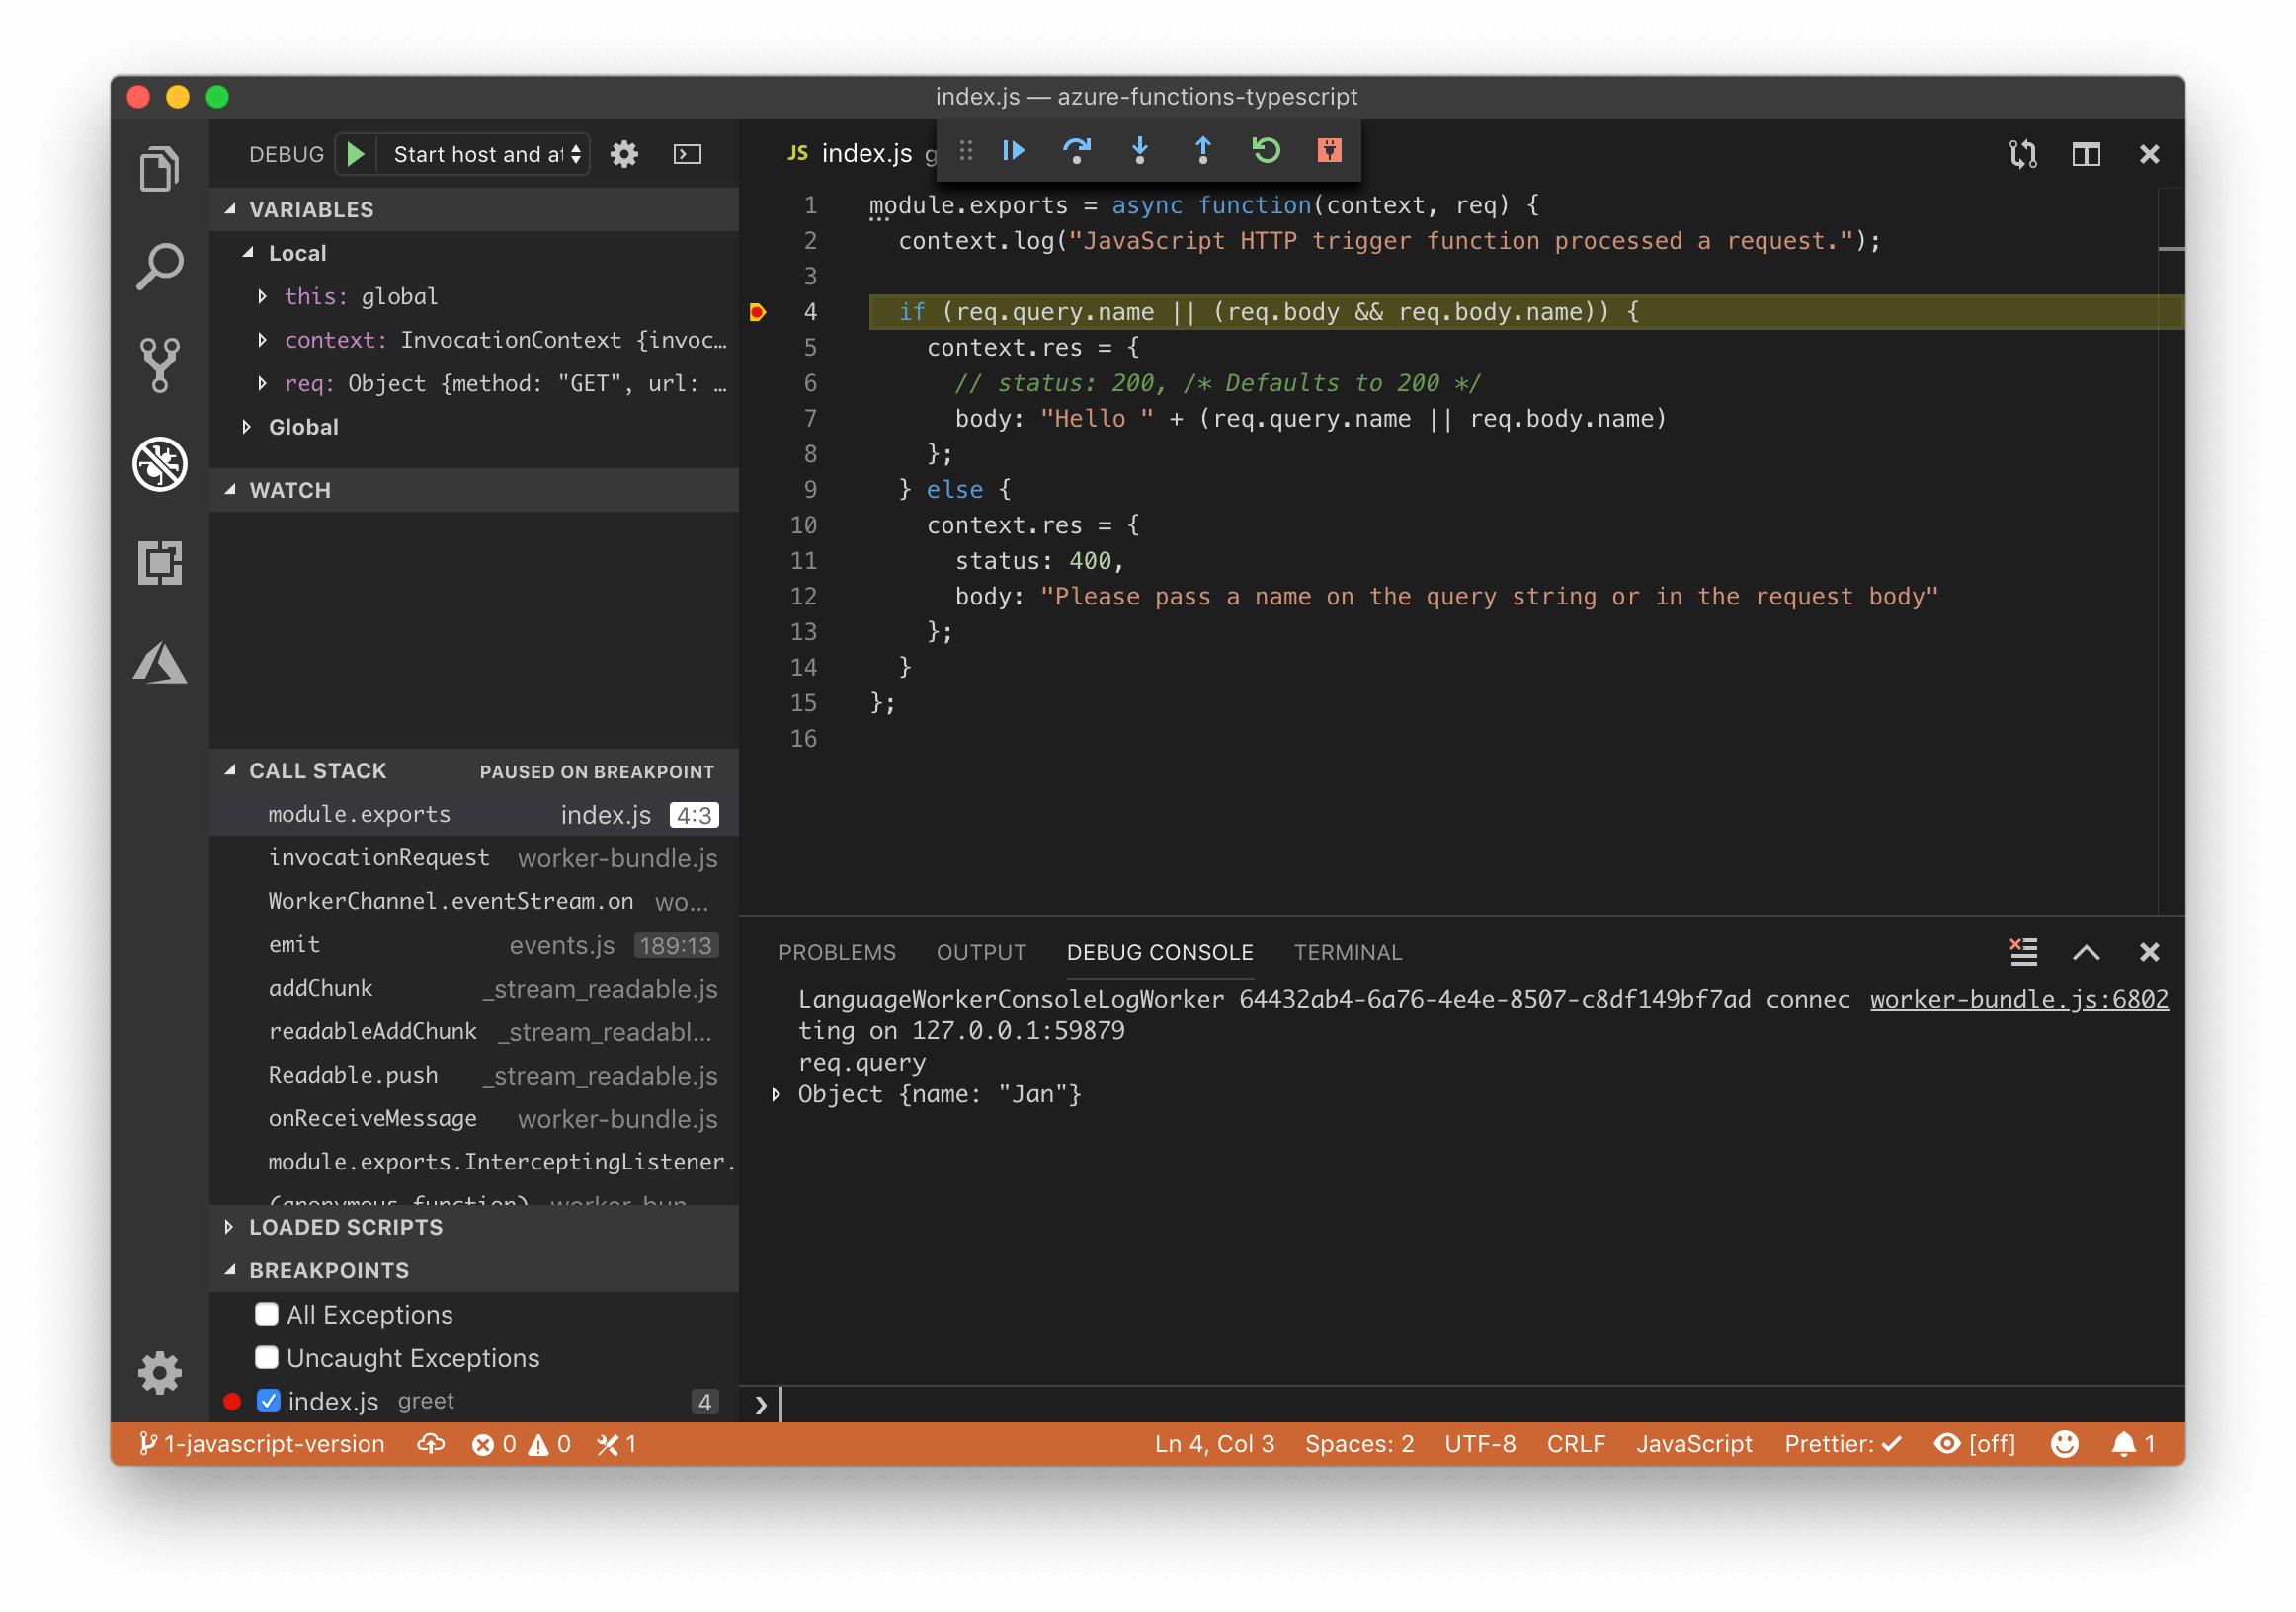
Debugging
It’s possible to debug and hit breakpoints in Visual Studio Code. Set a breakpoint and start the local host with VSCode’s debugger panel. This will run yarn start and attach a debugger to Node.js. Remember to trigger the function by calling the http://localhost:4000/api/greet URL.